Showing posts with label Chalk Paint. Show all posts

June 18, 2014

Earring Holder

By Cate


Hey readers!  Cate here with a Wednesday guest post.  Ok so awhile back in my Cane-Backed Chair post, I confessed that I went to the thrift store for bookends but left with 3 completely not-on-my-shopping-list things.  As promised, I have the scoop for you on item No. 2 - a picture frame.


I liked the round frame and the keys on the side to tighten it at your desired angle.  I did not, however, like the idea of cutting up a photo just to fit inside.  So let's do the craft math everybody: what does picture frame + paint + cotton batting + burlap equal?

How 'bout an earring holder!


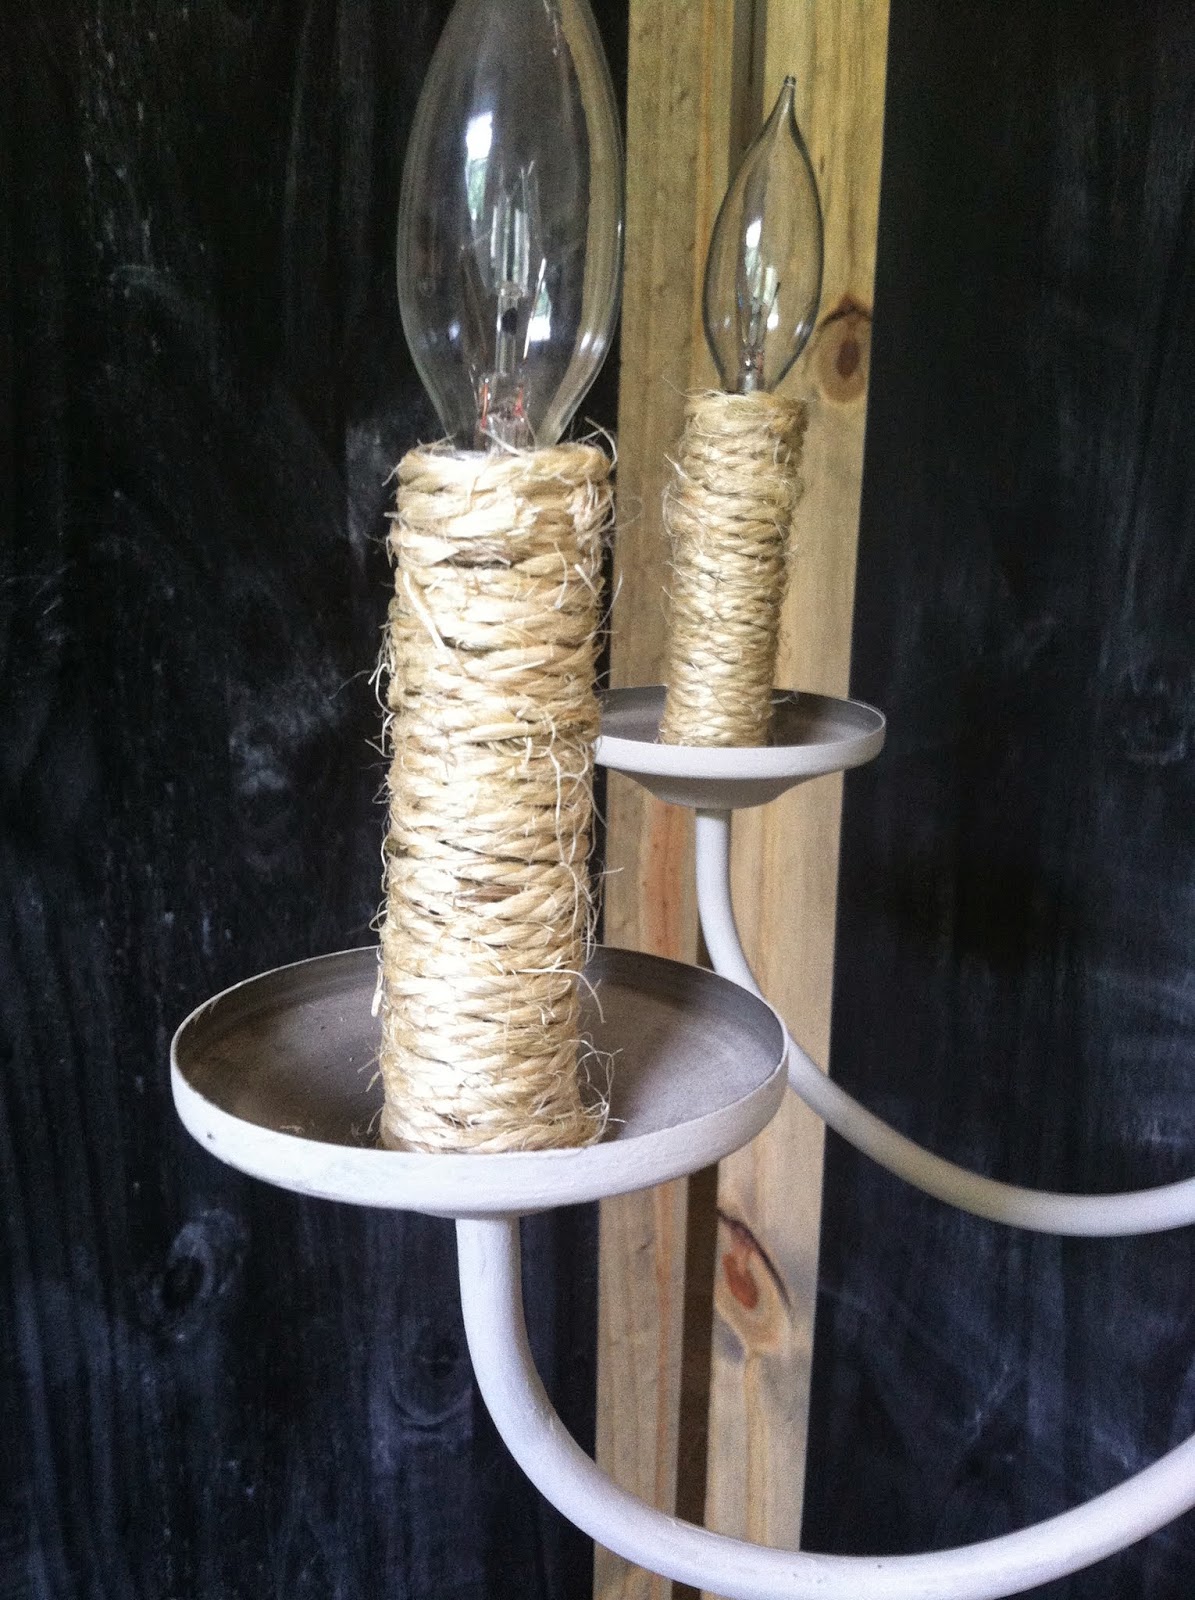
The frame was disassembled and repainted in the same warm gray chalk paint called "Primitive" by Americana Decor that I used on the Sisal Rope Chandelier from last week's post.  I also heavily distressed the edges to bring out the great detailing on the frame.

I removed the glass since I wouldn't be using it and recovering the backing with burlap over a layer of cotton batting from the fabric store. 

After it was recovered, I put the backing back in the frame without the glass so that the filler and fabric would create a pincushion effect.  For some added glamour, I stuck a couple pearl-tipped pins in there to perch the earrings on {although you can easily stick the earrings straight in}.

This was actually my first item to sell at the Garage Sale we had on June 7th.  I am so tickled someone loved it enough to snatch it up within the first few minutes of opening the garage door! 


Now, I know what you're thinking... what about thrift store item No. 3?  You will have to check back in for that post soon ;)  And I truly hope you do because it might be my favorite find of all!

Happy Wednesday,


~ Cate


June 10, 2014

Chalk-Painted Chandelier with Roping Accents

By Cate


Happiest Birthdayiversary to Chelsea {and Matt}!  Thank you Chelsea for sharing such sweet words of wisdom about turning the big three-O in your last post.  Since Chelsea is taking the day off to celebrate with the family, I am coming at you with another guest post.

When I found this chandelier at the ReStore, it already had a chalk-like grey finish.  The problem was it had a broken top loop and a missing decorative finial at the bottom.  I salvaged suitable replacements from another light fixture but they were a nickel finish and did not match.  So... in steps chalk paint to save the day!  


You can't even tell which were the mismatched replacement pieces.


I love the effect chalk paint has on metal.  It tones down the sheen and gleam of a typical chandelier and makes the light fixture feel more earthy.   I painted the metal frame of this chandelier in a warm gray color called "Primitive" by Americana Decor.  I have been making my own chalk paint as of late, but saw this sample at Home Depot and thought what the hey...  


For a fun twist, I removed the candle covers, wrapped them in sisal rope, and secured the rope in place with hot glue.  
They say imitation is the highest form of flattery, right?  Thanks Chels for introducing sisal rope accents to me in your sisal rope lamp tutorial and using rope to add interest to a hanging photo posts ;)


This 5-bulb chalk-painted chandelier is available for sale.
$150

If you're interested in this piece, please contact Cate to see it in person.  This and many other gorgeous pieces are listed in the Available for Sale sections in the right-hand menu.  Let us know if you find something you like!

~ Cate


June 3, 2014

Cane-Backed Chair

By Cate


It wasn't a "meet cute" - it was more of a "meet grimy."  I wouldn't have even noticed it had I not tripped on it in the thrift store.  But as I was rubbing my shin, I realized the chair had potential.  The brown shellacked wood was in good shape, there was no damage to the cane-backing, and the stained seat could be reupholstered.  So one newly-upholstered-seat and a fresh-coat-of-paint-later we had... this guy:


The wooden frame and cane were painted in another home-made chalk paint concoction.  The original color was a flat finish Behr paint called "Fashion Gray" mixed with Plaster of Paris and water to get this chalky finish.

I felt like the chair-before-bling looked too sweet.  Now it's a little edgy with its metallic touches.  I started by tacking the nails loosely in place to make sure I had the spacing right.


Once I was sure I liked the spacing, I nailed them the rest of the way in.  It's no secret that I am rapidly falling in love with nail head trim. 

Adding in this Chartreuse ikat pillow really plays up the edginess angle of the nail head.


I actually went to the thrift store looking for bookends... and (of course) I left with 3 completely random and non-bookend things.  The chair being the biggest prize.  Want to know what happened to the other 2 random thrift finds?  You'll have to check back in for a future guest post ;)


Look how far we've come cane-backed chair.  Can you spot Thor in the Before photo?


 Yes this chair would make a cozy addition to a sunny porch or a serene bedroom.  I hope he finds a good home come Saturday at the 5th Chelsea's Garage Sale!  Check back for the rest of our Week of Peeks - this and many many other show-stoppers will be available for sale THIS weekend: 
Contact us for the address - located in Herndon, VA.

Hope to see you there!


~ Cate

March 1, 2012

~Before/After~French Country Farm Table

Hi everyone! Well, I've been working morning through night, (around taking care of my 3 youngsters), to finish this gorgeous farm table to show you!

Here it is before any work:

I painted 1 coat plus some touch ups of Annie Sloan 'French Linen' Chalk Paint:

Then I clear waxed, distressed the legs and around the edge and clear waxed again, (which REALLY made the distressed areas pop out - so cool!)

The table sat like this for a little while as I needed some time to figure out what to do next. I really liked it this way but  was so curious to see what the dark wax would do. So I dark waxed just the legs:

This poor table was a victim of my indecisiveness several times through it's trasnformation! It sat like this for 2 days while I went back and forth on whether to dark wax the top or not. Finally, with Husbands input, I went for it and started dark waxing the top. Look at this contrast!


This table was a learning experience in it's truest form! After dark waxing the top, I went to work using clear wax to remove some of the dark wax where I thought it was too much. I really wanted the top to look aged and used, but not so rough.

Here's the top after just some evening out of the dark wax:

And finally....after a few days of looking at it, stepping back, and touching up, it's exactly what it was meant to be!


I have thoroughly enjoyed every minute of working on this piece. Truly. Seeing it transform just a little bit more each day was such a pleasure. I hope it finds just the pefect dining room to complete.:)

Thank you for stopping by and I hope you have a fabulous Friday!

~Chelsea