Showing posts with label DIY light fixtures. Show all posts

June 10, 2014

Chalk-Painted Chandelier with Roping Accents

By Cate


Happiest Birthdayiversary to Chelsea {and Matt}!  Thank you Chelsea for sharing such sweet words of wisdom about turning the big three-O in your last post.  Since Chelsea is taking the day off to celebrate with the family, I am coming at you with another guest post.

When I found this chandelier at the ReStore, it already had a chalk-like grey finish.  The problem was it had a broken top loop and a missing decorative finial at the bottom.  I salvaged suitable replacements from another light fixture but they were a nickel finish and did not match.  So... in steps chalk paint to save the day!  


You can't even tell which were the mismatched replacement pieces.


I love the effect chalk paint has on metal.  It tones down the sheen and gleam of a typical chandelier and makes the light fixture feel more earthy.   I painted the metal frame of this chandelier in a warm gray color called "Primitive" by Americana Decor.  I have been making my own chalk paint as of late, but saw this sample at Home Depot and thought what the hey...  


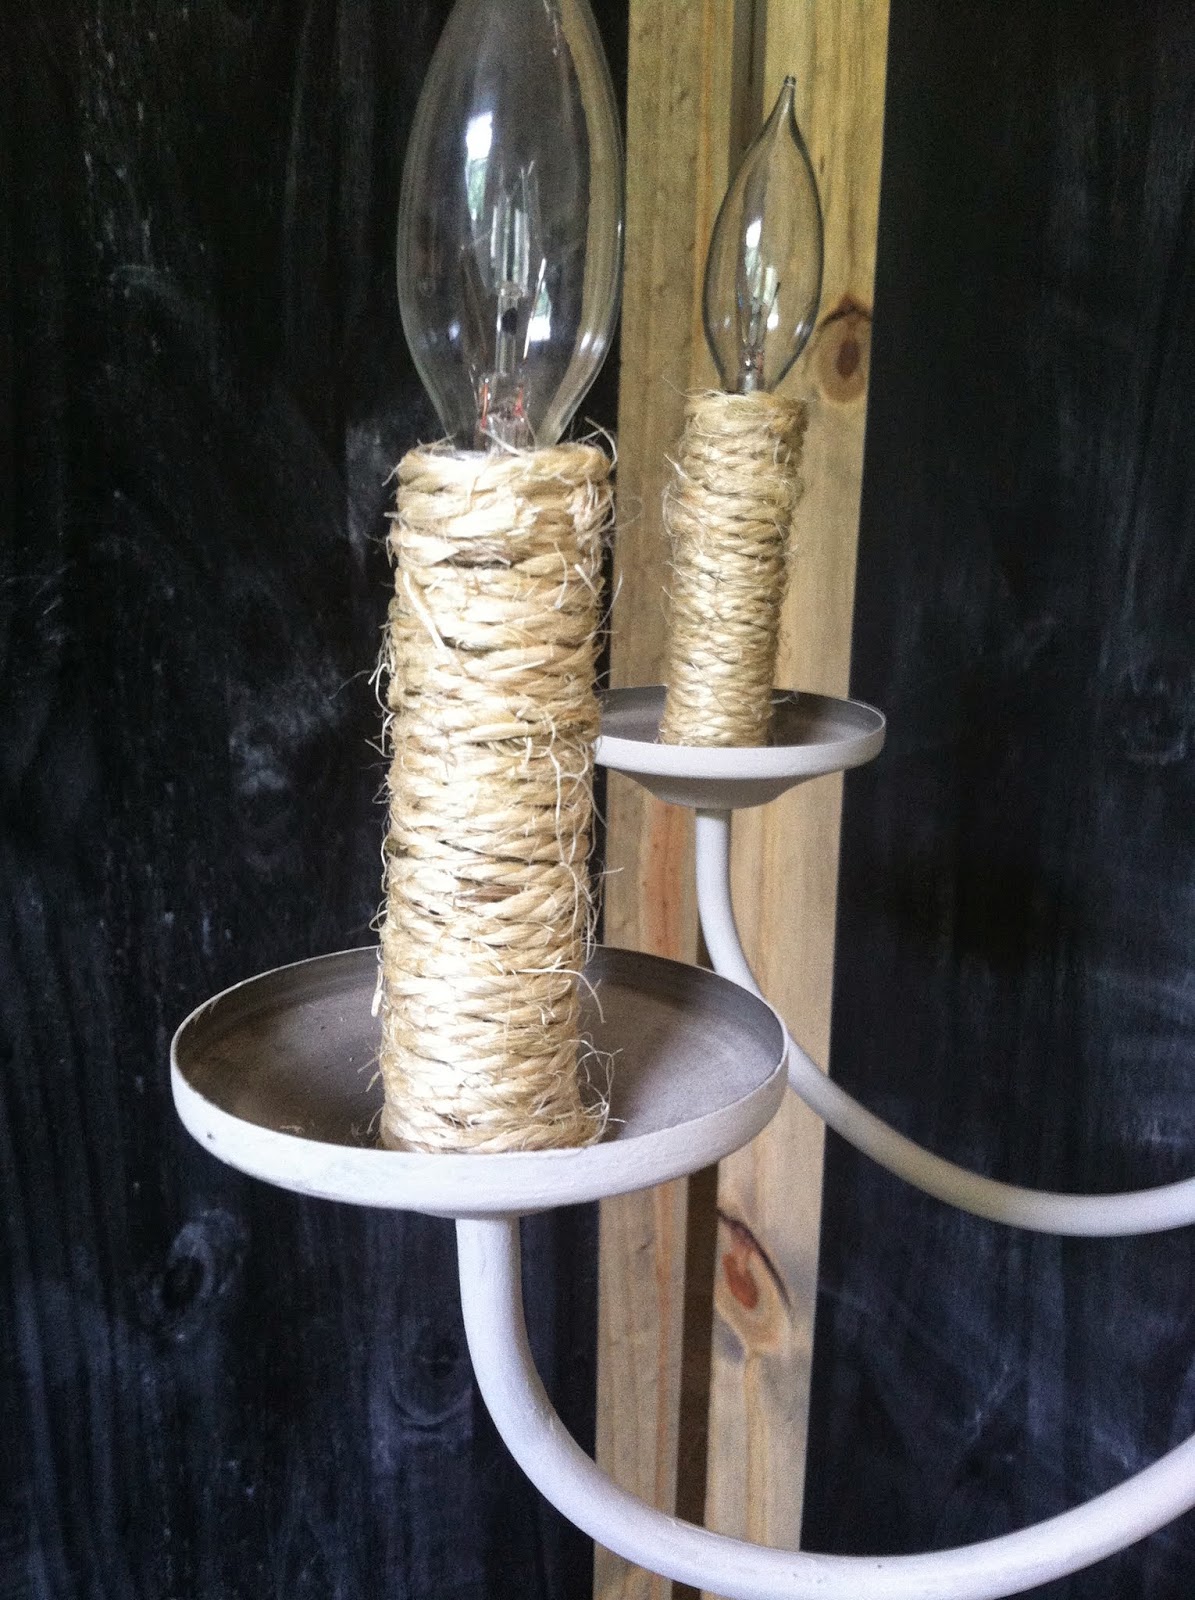
For a fun twist, I removed the candle covers, wrapped them in sisal rope, and secured the rope in place with hot glue.  
They say imitation is the highest form of flattery, right?  Thanks Chels for introducing sisal rope accents to me in your sisal rope lamp tutorial and using rope to add interest to a hanging photo posts ;)


This 5-bulb chalk-painted chandelier is available for sale.
$150

If you're interested in this piece, please contact Cate to see it in person.  This and many other gorgeous pieces are listed in the Available for Sale sections in the right-hand menu.  Let us know if you find something you like!

~ Cate


March 27, 2014

DIY: Disguise a generic ceiling light

By Chelsea


I'm telling you, if we get one more snow I may resort to painting all our interior walls. When I'm not playing hide & seek with the kids, (which, if you find a good hiding spot, is a great way to get a few minutes of peace and quiet), building train tracks, baking banana bread, changing baby doll clothes, getting chased by 'dinosaurs', and racing matchbox cars, (all of which barely cover the chunk of morning BEFORE breakfast), I've been finding some cool inside projects that I may never have discovered if we weren't snowed in!

This week it was disguising a light. Not a horribly ugly light, but the cheap, generic kind that most builders install. We've all seen these before:

It's not that I consider these an eyesore, but I wanted to present a very easy idea for disguising these simple globes with something a little more modern and unique. This would be a great project for a renter since it doesn't involve removing the light fixture and dealing with wires, etc. We're simply making a little 'disguise'!


To make this simple disguise I just used this black metal fruit basket, (or something), from the thrift store. Not sure exactly what it is, except that I see these all the time at yard sales, thrift stores and the like.

Then I wound it all up in twine.

Almost finished!


Thanks to the little hooks on three of the sides, I just hammered some small wall staples into the ceiling and hung it by the hooks!


Easy to put up, easy to take down. I wish something like this had occurred to me during our apartment years! 

We had two more of these ceiling lights in our home when we moved in - one above the sink in our kitchen, and another in a nook in our basement. Here's what we did in those areas:

Kitchen:

Basement:

In those cases we replaced the lights completely with yard sale finds. Here's the post I wrote on how to replace lights, (written for wire wimps like me)!

I love simple ideas like today's 'disguise' for quick fixes, (whether a permanent solution is permit-able or not). Definitely a renter-worthy project!

Thank you so much for stopping by!

~Chelsea