
Last weekend I had the absolute pleasure of hanging out with two of my favorite girls, Sarah and Casey. Casey is my little sister, Sarah is our cousin.
.jpg)


.jpg)


.jpg)
I adore these two :) They are bright, fun, and beautiful inside and out, (as you can clearly see). So, what a time we had when we decided to take an impromptu trip to the thrift store to check things out. Within seconds Sarah found this collapsible table that was ridiculous, (the good kind of ridiculous). The hardware is stunning. The size is just right to make it a versatile table she can use wherever she wants. It has a smooth rolling drawer AND the top flips up to reveal a whole compartment for storing silver, (lined with the softest silvercloth I have ever felt).
What an honor and delight it was when Sarah asked me to refinish it for her...however I wanted, I might add! I have never seen Sarah's place, so I had no idea what would look right. All I knew was that she loves color and a kind of eclectic layered look. I popped open a new can of paint I got a while ago called Antibes Green by ASCP. She loved it right away and I was excited to try out this new color for the first time! After she sent a picture of a piece of art she has used to inspire her living room decor, I knew this color was perfect. It is bold and bright, yet completely charming - just like Sarah!!
Here is the piece of art she sent me:

What a fun piece to inspire a room, huh?!? And here is the table in all it's green glory:
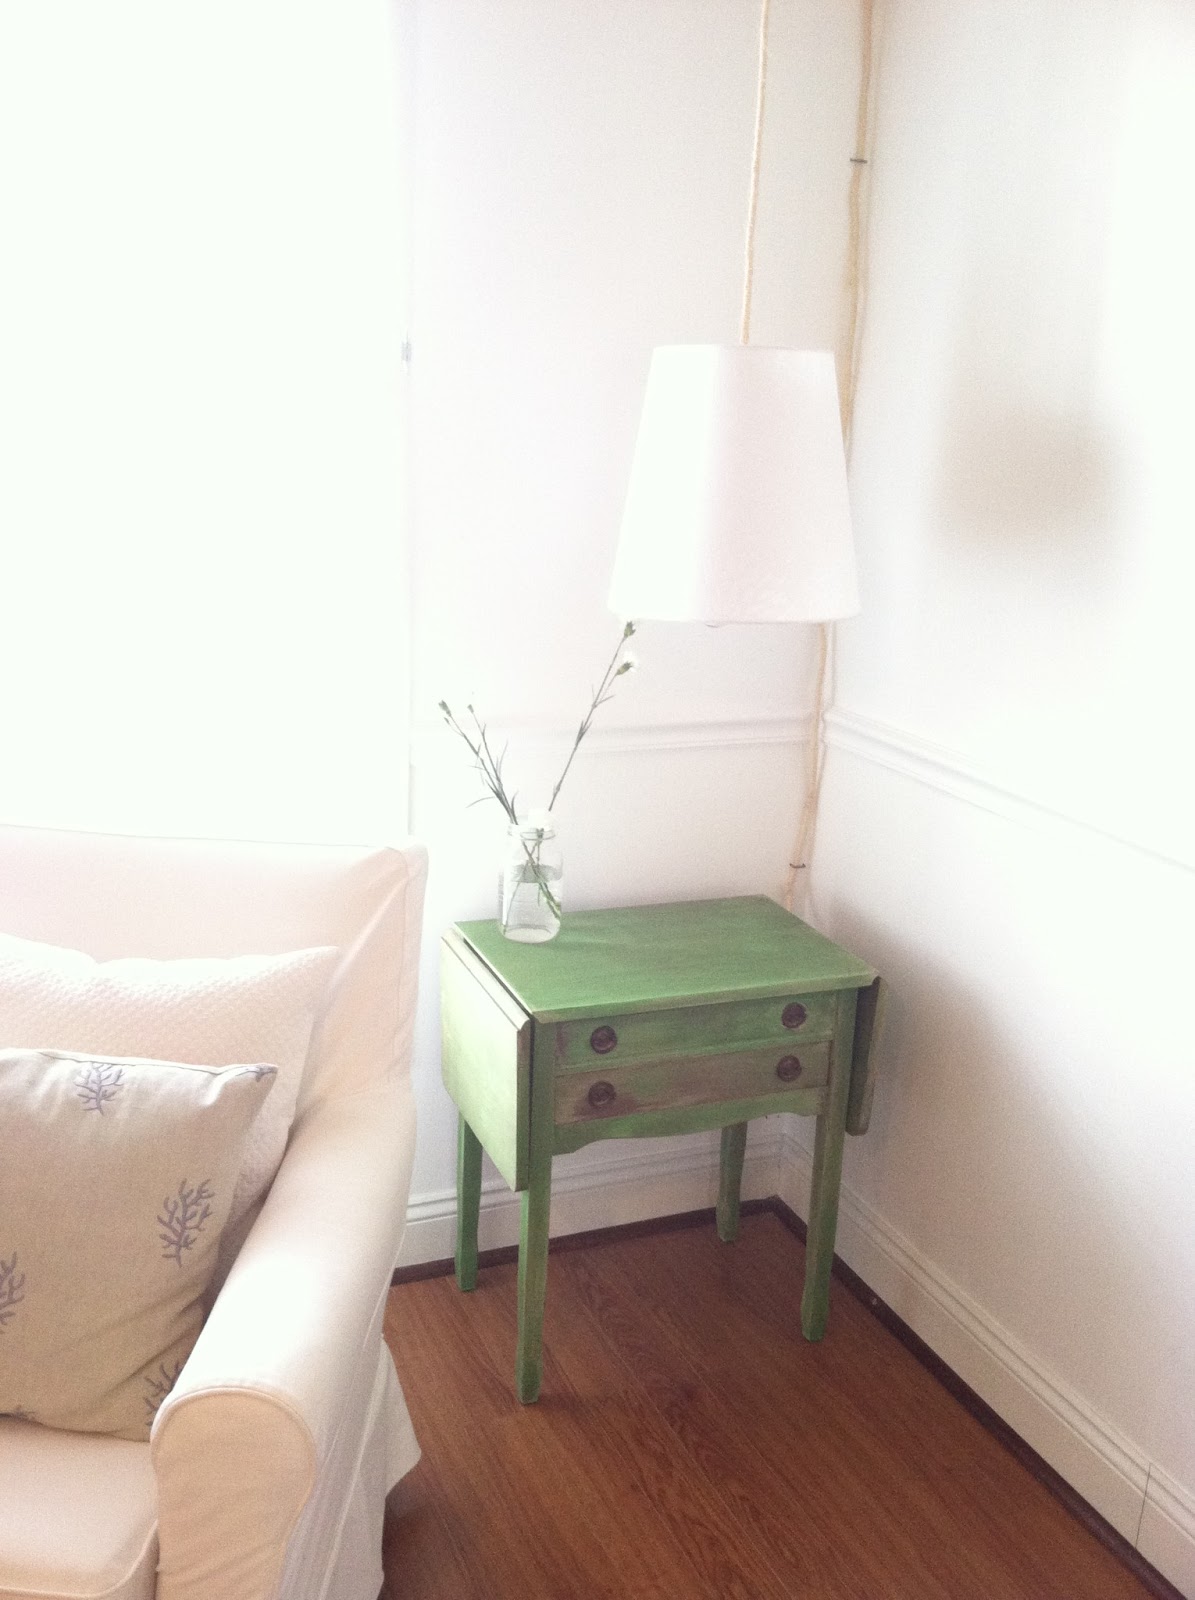


Now let's see how it looks with Sarah's art piece:
.jpg)
*LOVE*
I will admit, Antibes Green intimidated me when I first popped open the can, (not enough not to buy it, obviously, hah!), but I am pretty smitten with this emerald green color now! It doesn't take away from the elegance of this piece, but definitely adds a little modern sass....just like Sarah! ;)
The low-down:
-Took the table completely apart, removing all hinges and hardware
-Sanded out all the rough parts - every edge was splinter-y, there were chips of wood here and there, and lots of scratch marks that needed 'erasing'
-Brush painted a base coat of Country Grey, also an ASCP color
-Brush painted 2 coats of Antibes Green
-Applied dark wax using a very slightly damp sponge, (my favorite application technique). When you brush on chalk paint, you get these wonderful brush stroke marks! When I apply the dark wax I like to to do so in a circular pattern across the dried brush strokes so you get the dark wax inside the tiny crevices

When you start buffing the wax off the wax remains in the brush mark crevices


-Buffed off excess wax with a lint free rag
-Used a medium grit sanding sponge to smooth out the finish and distress around the edges and corners
Thank you for reading!
~Chelsea
SO AMAZING!!!!!!!! I am continually impressed by the things you think of and how fantastic it all turns out
ReplyDeleteI'm so happy that you like it! Thank you for entrusting me with such a fantastic find!
Delete