Showing posts with label Annie Sloan Chalk Paint. Show all posts

July 21, 2014

Video tutorial #1! {Chalk painting a chair}

By Chelsea


Hi guys! Last week I finally jumped on the video tutorial train and cooked up a couple how-to videos! I've had a lot of interest from the sweetest clients and friends to organize a chalk painting workshop. With summer schedules being so difficult to juggle I decided to put together a couple video tutorials instead to help get those visual learners started.

For my first tutorial I decided to paint a chair. Chairs are one of the most common pieces to refinish as they are found all over the place, often quite cheap, and are easy to throw in the back of the car. However, they are also one of the trickiest pieces, in my opinion! There are so many angles to cover on a chair; getting even coverage can be difficult and tedious. But through a couple simple techniques, painting chairs doesn't have to be so painstaking!

I hope this video, and the ones that follow, are helpful and easy to follow. Please, please, please send feedback!!! I'd love to know how I can improve my tutorials. And I also want to hear what you'd like to see! If there's a specific area of refinishing that you'd like to get some visual guidance with, (or even a specific type of piece you'd like to watch getting painted), let me know! Following this video I have one coming up for waxing a chair, (and it's much shorter).


Thank you for stopping by!

~Chelsea

May 17, 2013

Paint on, Wipe off - How to get a weathered finish

~All pieces available for sale can be found here~


If there is one kind of literature that I just completely soak in, it's information regarding refinishing techniques. There is so much out there in the world of refinishing furniture. So many ways to make an old piece come back to life. I learned a new way recently from the talented Christen at Blue Egg Brown Nest as she tried out a new technique from Annie Sloan, creator of Annie Sloan Chalk Paint and Waxes and author of her new book, Color Recipes for Painted Furniture.
Weathered. 


It's probably one of my favorite techniques as it creates a rich, weathered, time-worn finish. The steps are simple. 
1. You need a piece that has good texture and grain - nothing smooth! 
2. Using Old White chalk paint, brush the paint on in a small-ish section, wait about 30-ish seconds, and use a soft cloth,  like an old t-shirt, to wipe it off. 
3a. Touch up areas that you feel need more paint with a fairly dry brush - dipping in just the tip of the brush and wiping off any excess.
3b. Touch up any areas that you feel have too much paint and it's too late to wipe off with a fine sanding sponge. You can soften any thick areas of paint this way.  


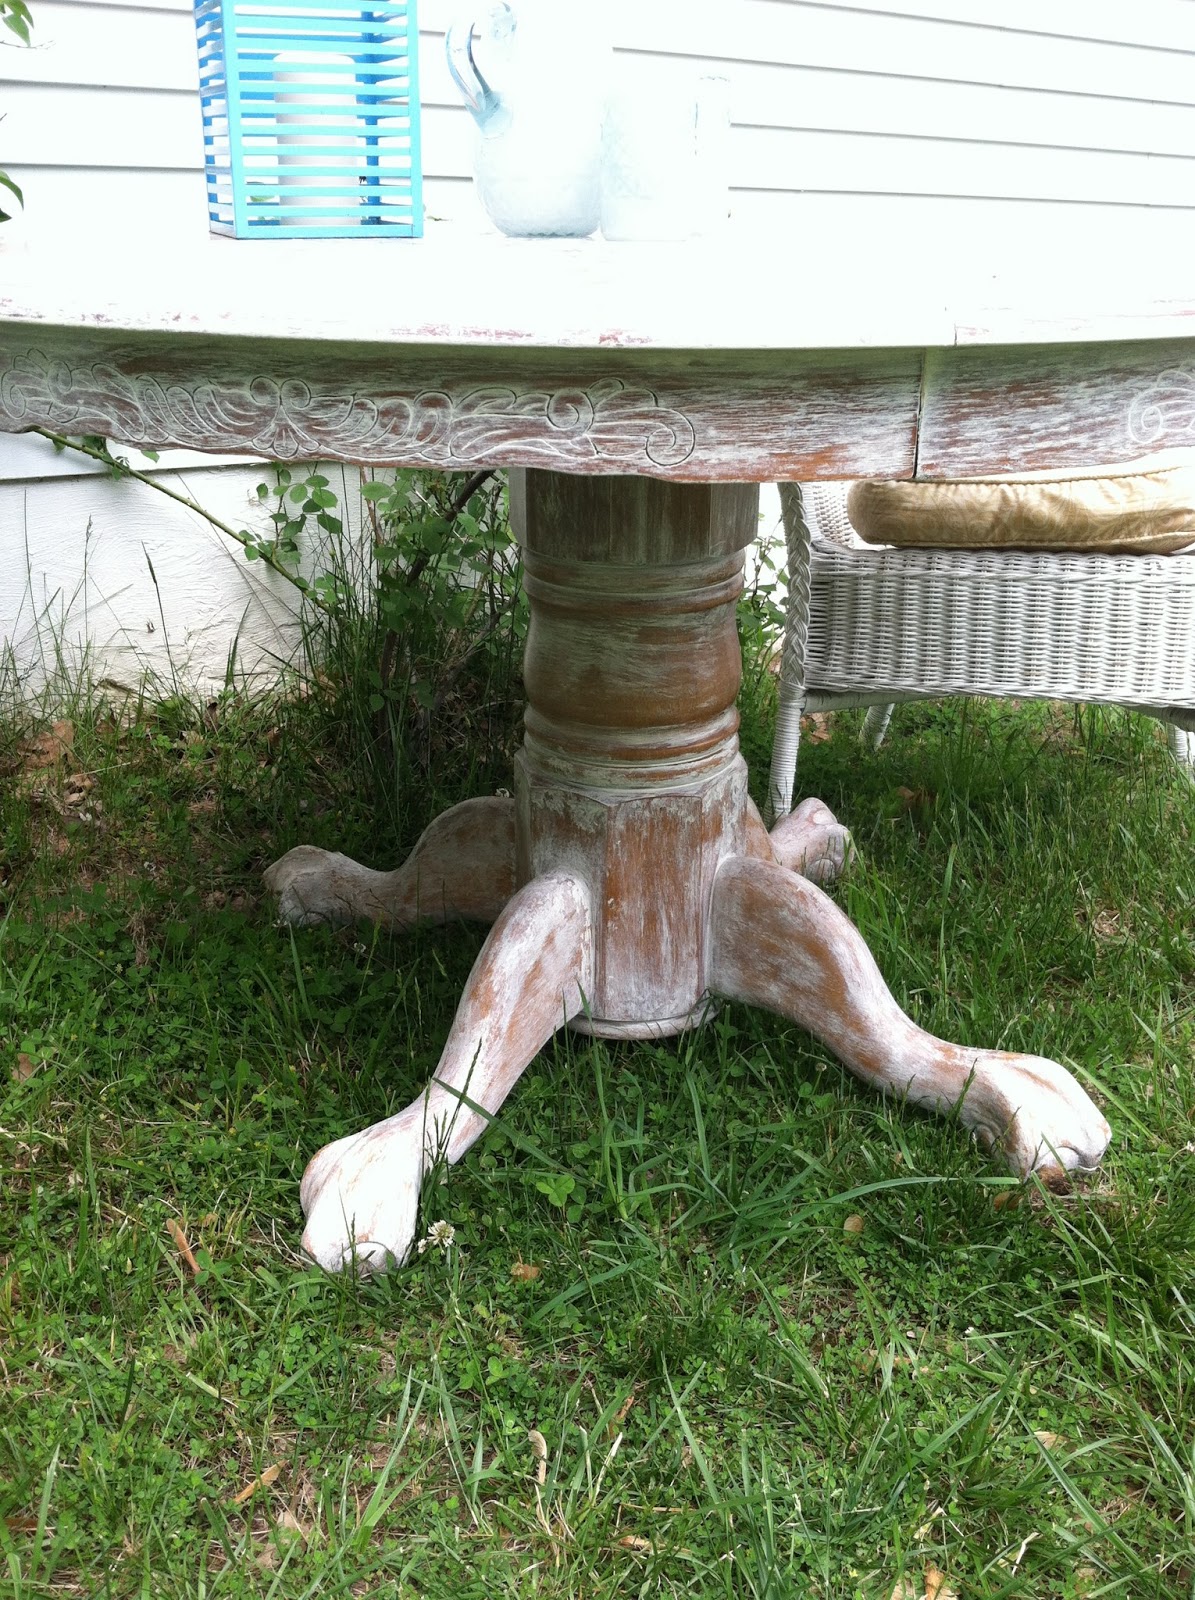
Christen demonstrates this technique on her blog using an oak pedestal table. Coincidentally a very, very, kind client recently asked me if I had any use for a lone oak pedestal table that was taking up space in her garage. She and her husband were anxious to just get it out. Lucky me, indeed!!!

Now, this table was almost perfect for trying this weathered technique. The only issue was that the top surface was sealed fairly smooth. The sealer was coming off in areas, but I didn't have as much texture up top as I would have liked. I ended up favoring a really chippy, time-worn finish on the top rather than a soft, whitewashed look, (which I was able to achieve on the pedestal base as there was plenty of texture down there). I did a lot of sanding to the top to remove paint. Now it looks as if it's seen years of love and family gatherings! As you can see in the pictures, the top has a gorgeous sunburst design, so I followed the direction of the wood with my painting, wiping, and sanding.


With the leaf. Seats 6-8.


Weathered Oak Pedestal Table
62 x 30 with the leaf, 38 x 30 without the leaf
Available for $425

Alright, enough about my newfound refinishing technique. Here are some real highlights of our week.:)
I don't blame you one bit if you move on at this point. I get it.

Doctor date with my under-the-weather daughter. Doesn't she look ill? ;)
(we were both happy to be out of the house together without the boys!)

Silly mirrors in the waiting room

I don't just have one, but TWO superhero sons. Though, Superman won't do much good with that paci and his finger in his bellybutton...
 

Won't be long until they're joining the kids they watch board the bus every morning with their "pack-packs"

If this is a foreshadow of what's to come, I am totally okay with that!

First sunglasses and they couldn't be prouder of themselves. 93 cents at Walmart for a few priceless smiles and giggles.

Kids not available for sale. Not today ;)

Last thing; if you happen to have an open weekend coming up and are somewhat local to Northern Virginia, check out the Luckett's Spring Market! Saturday and Sunday, 10-5, shop hundreds of home decor vendors outdoors and in. Admission is $7, (worth every penny), and there will be something for everyone - not might be, but will be! 

~Chelsea

April 24, 2013

8-sided beauty

I posted recently about how much I am drawn to versatile pieces. That's becoming an increasingly strong criteria when I'm out shopping either for our home or Chelsea's Garage! When I came across an octagon accent table several months ago, it was a no-brainer! I love that this piece could be moved here and there; up against a wall, tucked into a corner, or smack in the middle of a room. It doesn't matter because it's finished all the way around! I've got several floating pieces like this for the May 4 sale and they might be the ones I am most excited about, (see the end of this post for details)!

When I have the opportunity to refinish a piece of furniture, I always begin by asking myself what the goal is with the piece. Is it a plain and ordinary piece that can be turned into something unique with some fun painting techniques? Or is the piece already interesting enough that I want to keep the makeover somewhat simple? For this octagon table I really wanted to play up the shape and let the details speak for themselves. I used two contrasting, but soft, colors side by side to enhance the unique quality of this piece.

So happy with the final look!


Aren't these doors exquisite?! It's actually one door; the whole things opens from the right side, (you can see the hinges on the left)


Trim in Annie Sloan's Duck Egg, panels in Annie Sloan's Country Grey.
{This piece will be available for sale at the May 4 Chelsea's Garage sale}

Chelsea's Garage Spring Sale!
Saturday, May 4
10am-2pm
Herndon, VA

I've got coffee tables, bookshelves, dressers, consoles, buffets, accent tables, mirrors, storage cabinets, desks, chairs, and a few home accessories. Guests will be greeted with complimentary refreshments, so bring some friends, come to shop or just to peruse, and have a lovely time!

Open to the public! Please contact me at chelseasgarage@gmail.com for the address. 

I would love to see you there! 

~Chelsea

Linking up with Blue Egg Brown Nest!

January 1, 2013

2012 LESSONS and first piece of 2013

{burlap banner from atcompanyb on Etsy}

Last year was a cup runneth over kind of year for me. The blessings of 2012 were so all over the place I couldn't even begin to start listing them off. If you have read this blog at all in the last year then I am guessing  you have some remote interest in furniture refinishing, so I'll stick with that one.:) A few years ago, the idea of having a furniture refinishing business was just that; an idea. At the start of 2012 that idea became a reality and my cozy little blog was born. I held my first showroom sale straight out of our garage in February, selling pieces I had been working on since my youngest, Mason, was born the previous spring. From that point forward it's been a whirlwind of custom orders, meeting fantastic people, and constantly challenging, (and surprising) myself! 

What I learned in 2012 about pursuing this business:
 ~Just go for it.
~Life is too short to wait for the right time, more time, enough funds, enough energy.
~Motivation and the excitement of trying are enough to overcome the challenges.
~There will always be challenges. That's part of life. 
~Hard work is good for my soul.
~Where there is Will there is a Way...this one is a major cliche, but a repetitive lesson in this particular venture
~It's a good thing for my kids to see me work hard for this dream.
~I hope they learn that it's okay to dream big.
~The Lord chose to give me this most awesome guy, Matt, to walk through life with, and without his constant encouragement, support, and crazy wood-working skills, this dream would still just be a dream.

My first refinished piece of 2013
is nothing spectacular, but is rather heartfelt. It's a simple piece for one of Shire's closest little friends who has recently moved to a big girl room to make space for her soon-to-arrive baby sister. This sweet pea has tons of books which need an organized spot of their own, so when I got the ideal measurements of the space in the room, I jumped on craigslist. This bookcase was one of the first that I saw and after showing it to my friend who gave it two thumbs up, I snagged it. My friend's request was for creamy white and distressed, so that's what I did :) I can't wait to see it in this sweet little girl's room!

{Before}

{AFTER!}


The process:
~Smoothed the surface with 320 grit sandpaper
~Painted two coats of Annie Sloan's Old White
~Lightly distressed using a medium sanding sponge
~Sealed using a clear wax, (I like to use a lightly damp kitchen sponge, then wipe it through the wax and rub it evenly over my piece. It gives a very thin, smooth coat. Then I can reapply as necessary)

There are many pieces still waiting for me in the garage as I type this, but what a sweet little ditty to kick off the new year! I wonder where this dream will go in 2013 :)

What are your dreams/goals/interests for 2013? Do you dare share for all to see? :)

~Chelsea

December 14, 2012

WHITEWASHED DRESSER with 'unfinished' top

Howdy! Despite working on several projects that I'm looking forward to giving as gifts this holiday season, the garage has been filling up quite a bit since the November sale! It's not unusual to get a flood of custom orders following a sale, but I've never done a sale so close to Christmas before. While many of the recently dropped off pieces will be waiting until after the holidays, (thanks to my dear clients who insist they are not in a hurry to have them back), I'd better start showing you some of the newly finished pieces before they come and go without a proper adieu!

I thought I would start with this prize for today. The special thing about this piece isn't so much that it's very unique looking, but it's the vision that its sweet owner had. I've never had a request for an unfinished top but it is something I have been dying to try for quite a while! The dresser has a matching mirror which she wanted to be painted to match the body of the piece. When discussing her ideas, the words 'whitewashed', 'distressed', and 'rustic' all came up. She wasn't exactly sure on the colors she wanted, but once I popped open a can of Annie Sloan's French Linen, she was sold. This warm, khaki gray is perfect for a weathered driftwood look. With the paint color settled, I got to work :)


1. The first step was sanding down the top surface of this piece to within an inch of it's life. It had some crazy deep scratches and divots all over the place which needed to be smoothed over. Once the sanding was done... 
2. I got to painting. I painted on a nice thick coat of a creamy white. Once that dried...
3. I dry brushed the second color. This is one of my most frequently used techniques for a worn, distressed look, especially when layering two colors. Dip your brush in just enough to get the tip of the bristles wet with paint:

Then brush it on in fast, short, even strokes so not to apply the paint too thick in one spot:


4. Then sand it down using medium and rough grit sanding sponges. I use the rougher sanding sponges for corners and edges to remove more paint where there would naturally be more wear and tear. The medium sanding sponges I use over every square inch. This doesn't remove enough paint to take you down to the wood, or even the base color, but rather smooths your brush strokes out for an even look.

5. Seal it up using a lightly dampened sponge and clear wax. This will give you a very thin layer and you can reapply as necessary. I have definitely learned it is much easier to reapply wax than it is to remove! Better to start with thin....

For an 'unfinished' surface:
First you need to make sure you have the proper wood stain. If you know what kind of wood you have, that is ideal, but if you don't you can take a drawer from your piece, (or something else portable), to a hardware store and ask an expert if they can match the stain. Once you have sanded down your surface, clean it well. At this point it is preferable to bring it inside so that it's room temperature. Apply the stain with a clean, quality paint brush, in long even strokes until the entire piece is covered. Follow the reapplication directions. Some instructions have you wait several hours between coats. I let the piece set for 24hrs before applying the protective sealer. I used a high gloss polyurethane sealer for this piece and used two coats. I think the glossy surface gives the entire piece a rich, vibrant appeal.

Questions or comments? Feel free to comment below or email me at chelseasgarage@gmail.com!

Thanks for reading!!

~Chelsea


November 19, 2012

Sale day recap!

It's hard to believe that our 3rd sale is behind us already! It was so much fun to prepare for, (I have realized that the anticipation of things is just as fun for me as the thing itself)!...and now it's old news. But, what a great time we had on Saturday! First off, I want to give a huge THANK YOU to those of you who were able to make it, and those of you who sent well wishes from afar. Your kind words of encouragement and support mean so much to me.

I thought I would share a handful of photos of the day. We lucked out with beautiful, sunny weather! On my first sale day we had snow, and on the second we had rain. But Saturday was a perfect, crisp fall day.

{Incredibly thankful for this man, who supports and encourages this crazy dream of mine}

{These huge sliver balls were $5 at Home Depot. I LOVE the bit of sparkle they added to the 'shop'. Thinking of how to use them in our home once we get decorating for Christmas!}


For any of you local friends who didn't make the sale, here is what's left:
{5 shelf bakers rack}

{Soft custom gray cabinet, distressed, with updated Celtic style knobs. 32.5W x 16.25D x 29H}

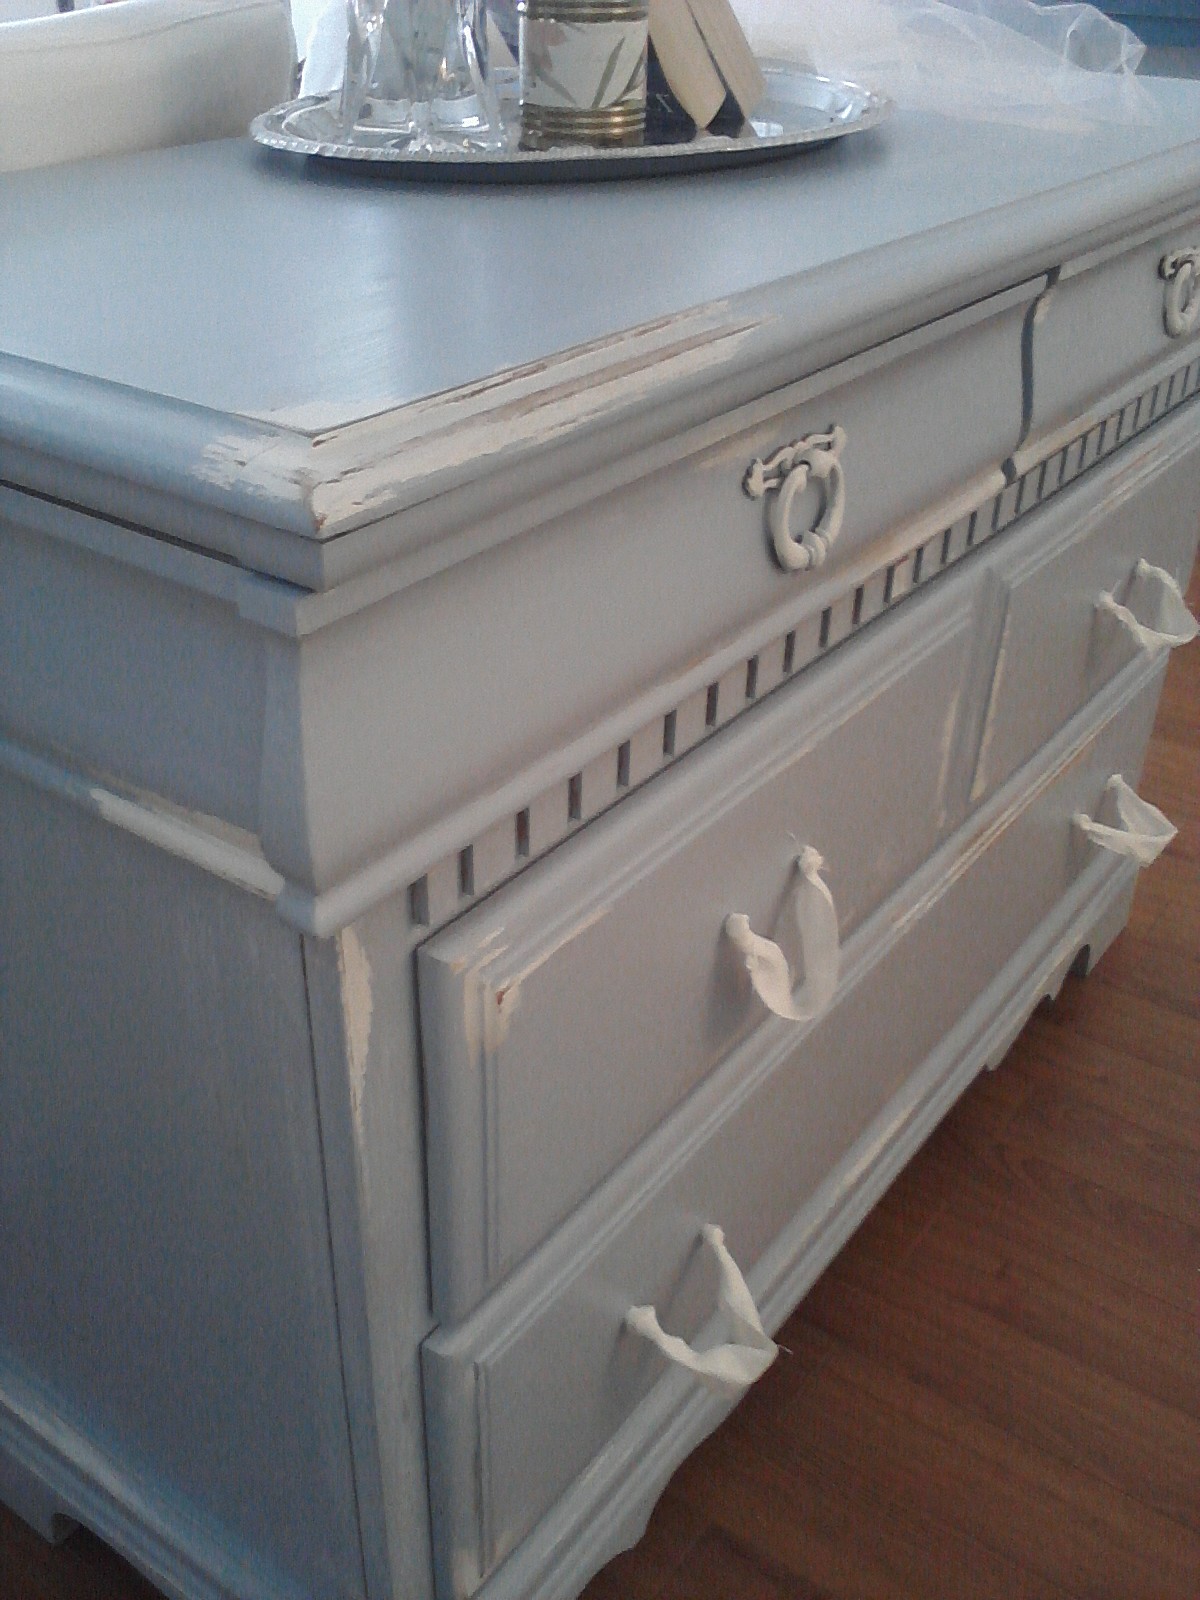
{Soft custom blue dresser, distressed, with white hardware and linen drawer pulls}

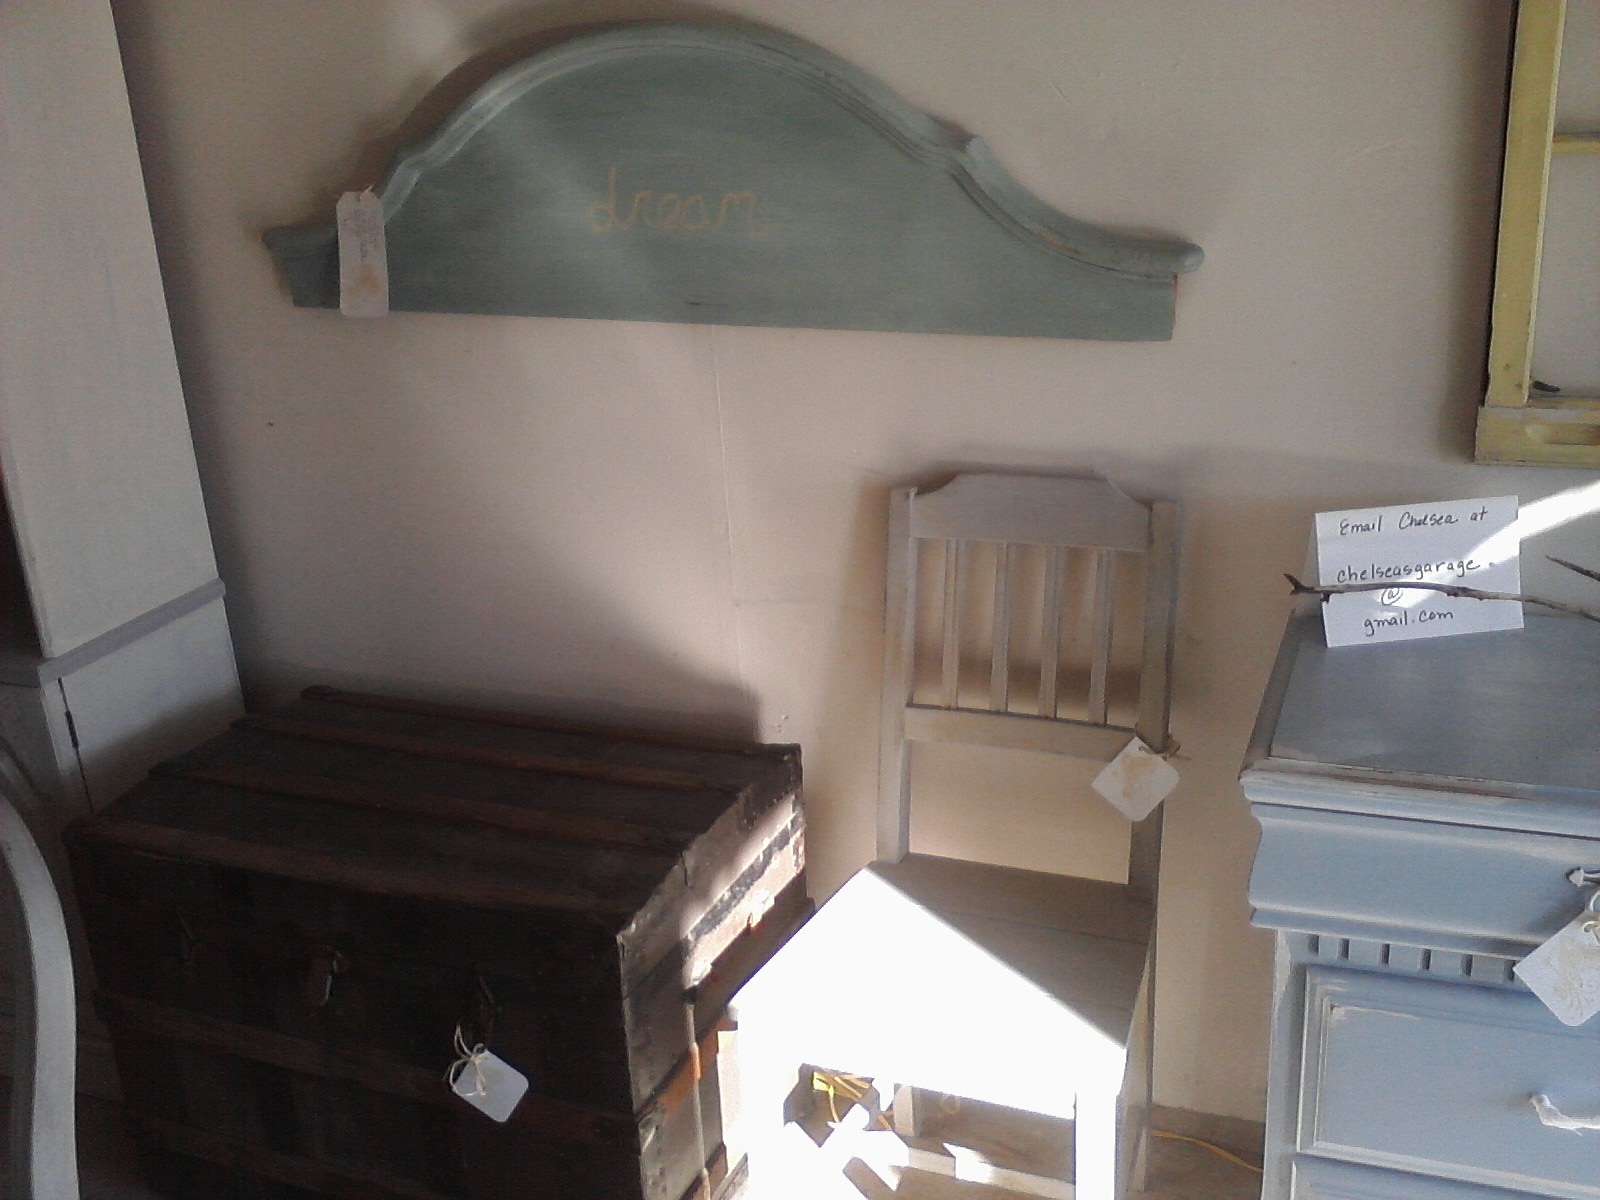
{Soft gray chair, distressed, with peeks of yellow underneath}

If any of the above 4 pieces caught your eye, please contact me at chelseasgarage@gmail.com :)

Please stay tuned later this week for another giveaway that is sure to add some JOY to your holiday decorating (hint, hint) ;) And if you are not a member of this blog, please make sure you join, (I lovingly refer to members as 'Garage Guests'), so you can enter this next giveaway!

Thanks for stopping by!

~Chelsea