
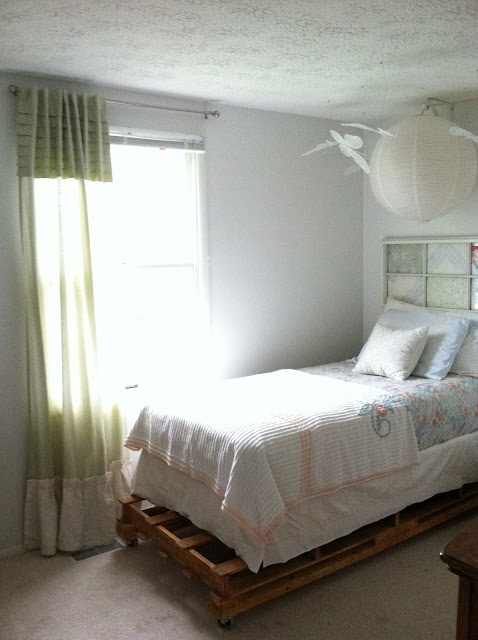
Hi guys! So, a few weeks ago we redid Shire's room, (after we moved her bed into the boys' room for little brother, Mason, and built her a new wooden pallet bed). I happily called it finished...except for a few very short inches of space that I wanted to take care of. Can you see it, (aside from the lack of bed skirt - which I have since added)?


Here, let me zoom in.
See the 4ish inches of space between the curtain and the floor?

I wanted to take care of that; extend the curtain somehow so it gently swept the floor. Ok, so it's not a big deal, (I told you I happily called it finished with this one minor issue), but I did want to use this itty bitty detail as an opportunity to try something unique. Instead of buying a longer panel I decided to add a pleated skirt of a contrasting fabric!
It was not a totally original idea. I have been admiring our dining room burlap panels with a pleated ruffle at the bottom for a couple years now, (from Simply French Market on Etsy).

While I have adored this detail, I couldn't help from wondering: How hard could it be?
DISCLAIMER: I do not sew! I stitch unevenly, knot when necessary, and glue when I have to!
For this project I used a couple of these valances that I found a few months ago at the thrift store. At $1.97 for the bundle of 3, I scooped them up with no apparent plan - the thick white cotton fabric with creamy stitched pattern was clean as a whistle and simple. Always take home good fabric that catches your eye when it's cheap. You will use it. These turned out to be the perfect length for a little curtain ruffle!

I laid my big green panel out on the floor, and got to work hand stitching the valances, (I used 2), onto the bottom.

The final product!


I just followed one of the seams about 2" from the top of the valances.
The back doesn't look so hot, but here it is!

This sweet bed skirt was another thrift store find. I was looking for something exactly like this at local stores but nothing was hitting the mark! It's a very pale pink, with sweet and delicate details in the trim...and it was $3.95. Booya!


Now, the room is done. And it is one of my favorites in our home.
Thank you for reading!
~Chelsea
No comments:
Post a Comment